
Time could also be of the essence to save lots of Garl, however not so quick! Earlier than having your viewers with the Necromancer, it’s essential to open the door to their lair first. This space is surprisingly complicated, and if you wish to open the door, you’ll need to work for it. That is tips on how to remedy the Necromancer’s Lair in Sea of Stars. Strap your self in as a result of this can be a robust one.
How you can remedy the Necromancer’s Lair in Sea of Stars
After you’ve collected the primary Inexperienced Cranium within the swamp, you’ll notice you want two extra to open the door to the Necromancer’s Lair. There’s a door to the west and one other by way of the swamp to the east. Head into the east entrance first, because the west requires an merchandise you don’t have but.
East entrance

Picture by PC Invasion
Stroll over the steadiness beams, cope with the enemies to the east, and pull the lever they guard.
The lever strikes a platform to the north, shut sufficient to leap to. Pull the lever on the platform and soar to the subsequent ledge. Then, observe the trail round and kick the ladder down.

Picture by PC Invasion
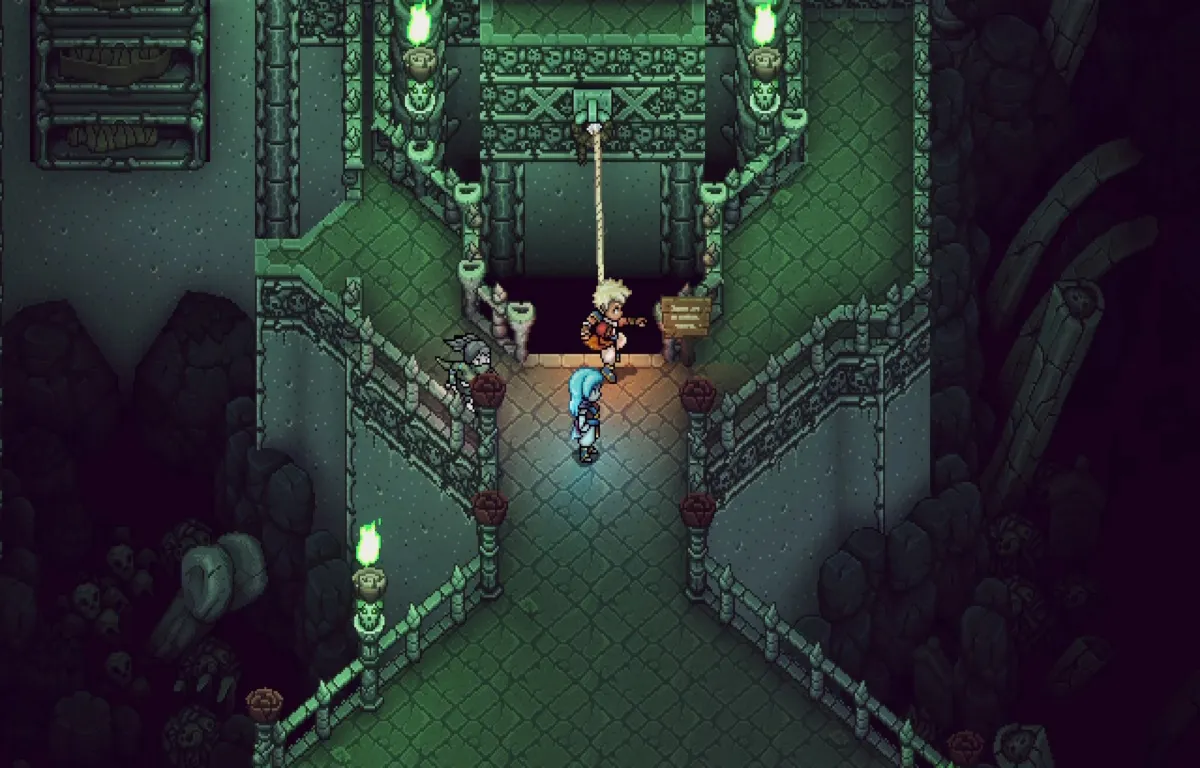
Climb down the ladder and activate the primary lever you pulled on this room. Then, climb again up the ladder, retrace your steps, and hop on the newly accessible platform (pictured above).
There are enemies to battle within the following space. After the combat, climb the ladder, drop off the ledge, and into the open door. There’s a Graplou contained in the chest, and it fully modifications the way you strategy obstacles.
Now, you’ll be able to grapple onto wood totems to leap over obstacles and pitfalls. You’ll be able to even grapple onto enemies to provoke fights.
With the Graplou in hand, step on the blue glyph switches across the room and exit the world.
There’s a grapple level to the east of this room. Hop throughout, defeat the enemies, and declare your second Inexperienced Cranium. Once you’re prepared, return to the hub, relaxation if wanted, and go into the west entrance.
West entrance
Picture by PC Invasion
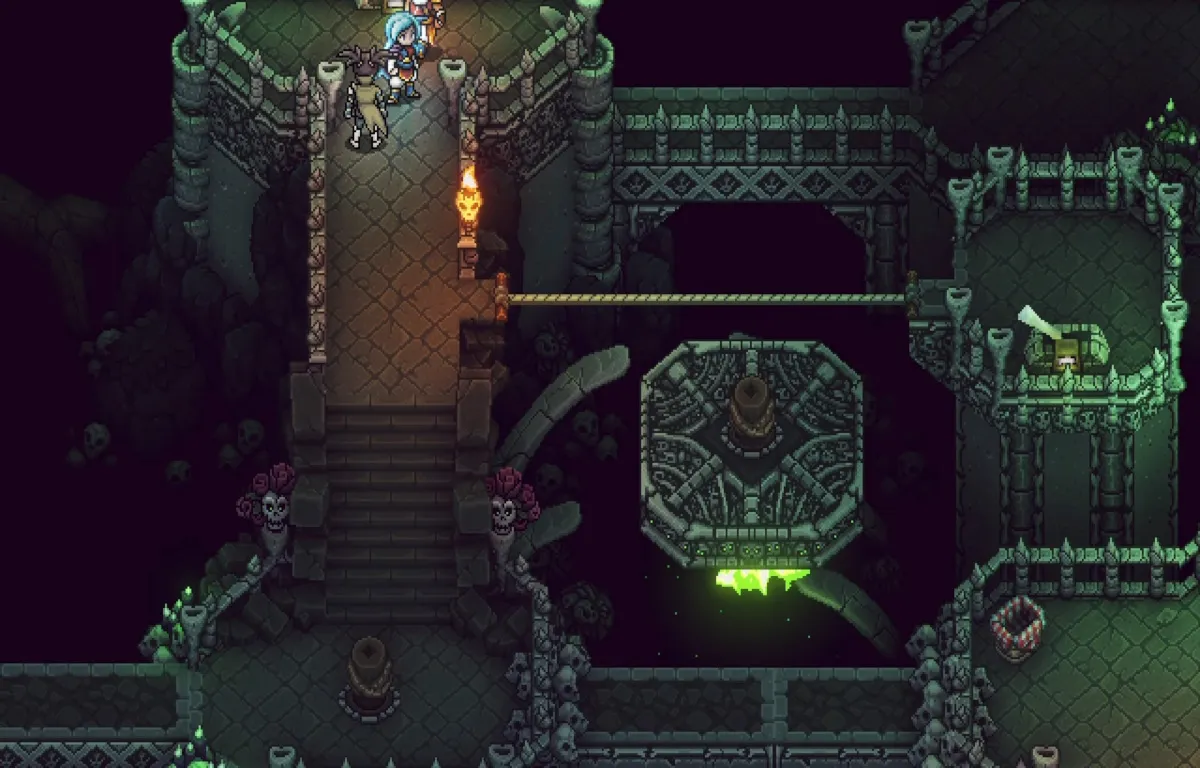
The very first thing you wish to do right here is head north and use the Graplou on this wall (pictured above). Then, stroll onto the revealed platform and pull the lever.
Climb the staircase and stroll into the subsequent space. Comply with the Graplou path to the east, and keep in mind, you need to use enemies as grapple targets.
This part seems daunting till you notice you’ll be able to Graplou diagonally. Proceed across the room and pull each lever you discover.
Picture by PC Invasion
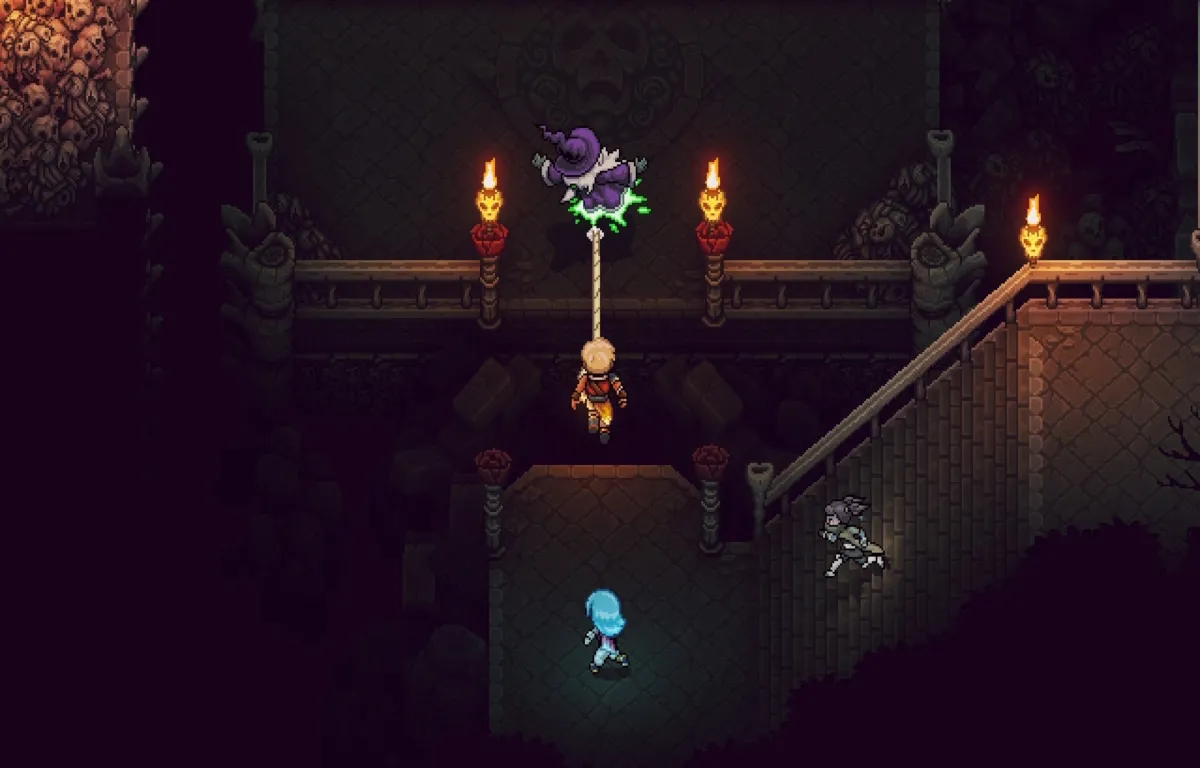
The platform will get caught right here till you stroll the tightrope and pull the lever. After you’ve defeated one other wave of enemies, the subsequent lever will transport the platform out of sight. It’s stopped within the first room close to the West entrance. Head there, Graplou to it, and observe the lengthy path across the fringe of the room.
Picture by PC Invasion
Grapple to the enemy (pictured), pull the lever, and Graplou throughout. The lever by the bone stairs strikes the platform up a degree. Pull every lever you see as you make your method by way of the room. Once you exit the world, you need to use the Graplou to entry a brand new location and problem one final group of enemies.
With the ultimate group defeated, you’ll be able to lastly meet the Necromancer. The boss is a tricky cookie and is so harmful we’ve received a information for the encounter. Test it out should you get caught.
