
Screenshot by PC Invasion
In The Legend of Zelda: Tears of the Kingdom, lots of the shrines you possibly can go to are in plain sight. You’ll simply come throughout them as you discover the land of Hyrule. Others require extra experimentation. In these instances, the problem lies find the shrine, moderately than working your manner via it. Right here is our information explaining find out how to discover the Gerudo Desert ‘Chichim’ Shrine in The Legend of Zelda: Tears of the Kingdom.
Tears of the Kingdom – find out how to discover Gerudo Desert ‘Chichim’ Shrine
Gerudo Desert has a variety of sand. Scorching winds whip it about, obscuring your imaginative and prescient. Even when you have a correct map of the realm, your means to seek the advice of it vanishes when you enter the huge sandstorm.
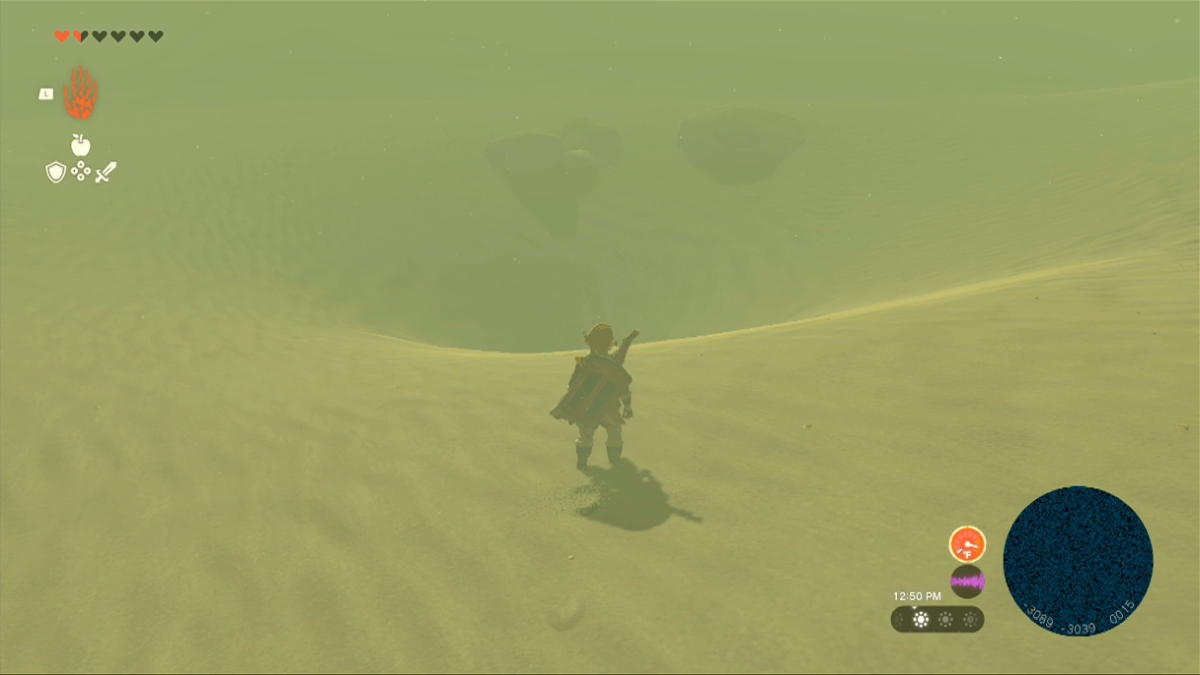
To seek out the Gerudo Desert’s well-hidden Chichim Shrine, you have to enterprise into the sandstorm and purposefully sink right into a sand pit. After you do this, you have to then navigate the Historic Jail Ruins, that are basically a dungeon.
Screenshot by PC Invasion
Begin your exploration from Kara Kara Bazaar, which is positioned close to the Gerudo Desert’s northeastern facet, close to the Mayatat Shrine. From the bazaar, head east a brief distance. If you are close to the bazaar, you possibly can nonetheless seek the advice of your map. You wish to journey east till your place on the map is instantly north of textual content referencing Palu Wasteland.
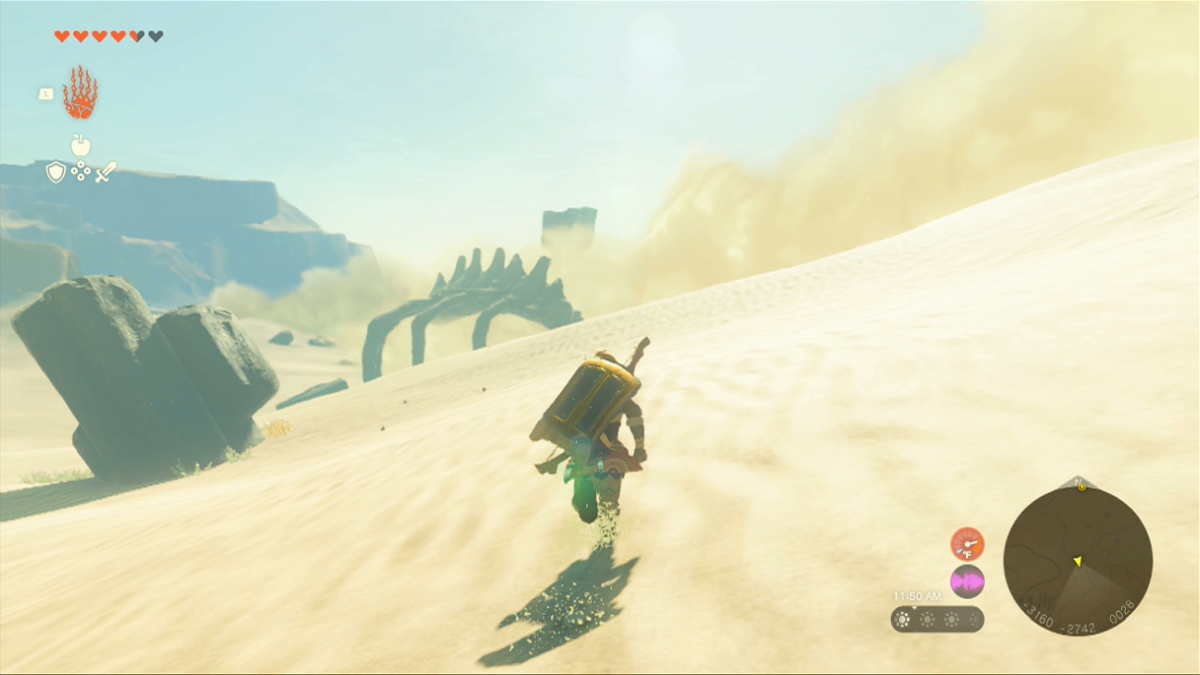
As soon as you might be in place, journey nearly instantly south. Finally, a cloud of sand makes the map go away. Attempt to proceed advancing south in as straight a line as doable, till you see the big ribcage with enemies gathered round it. Thoughts these enemies as you method, and hold simply to the suitable of the bones. You must be capable of proceed within the normal course you have been already headed.
Screenshot by PC Invasion
As you journey alongside the bones, you need to come throughout a geyser of air, simply previous a flowering cactus. Jump over the air and pull out your paraglider so the wind carries you as much as a excessive vantage level. Briefly, you need to be capable of see your map once more. Then your elevation will drop. Soar towards the south to succeed in the sting of an enormous pit of sand. Stroll ahead and towards its lowest level, the place the sand will slowly suck you beneath the floor.
Looking for Chichim Shrine within the Historic Jail Ruins
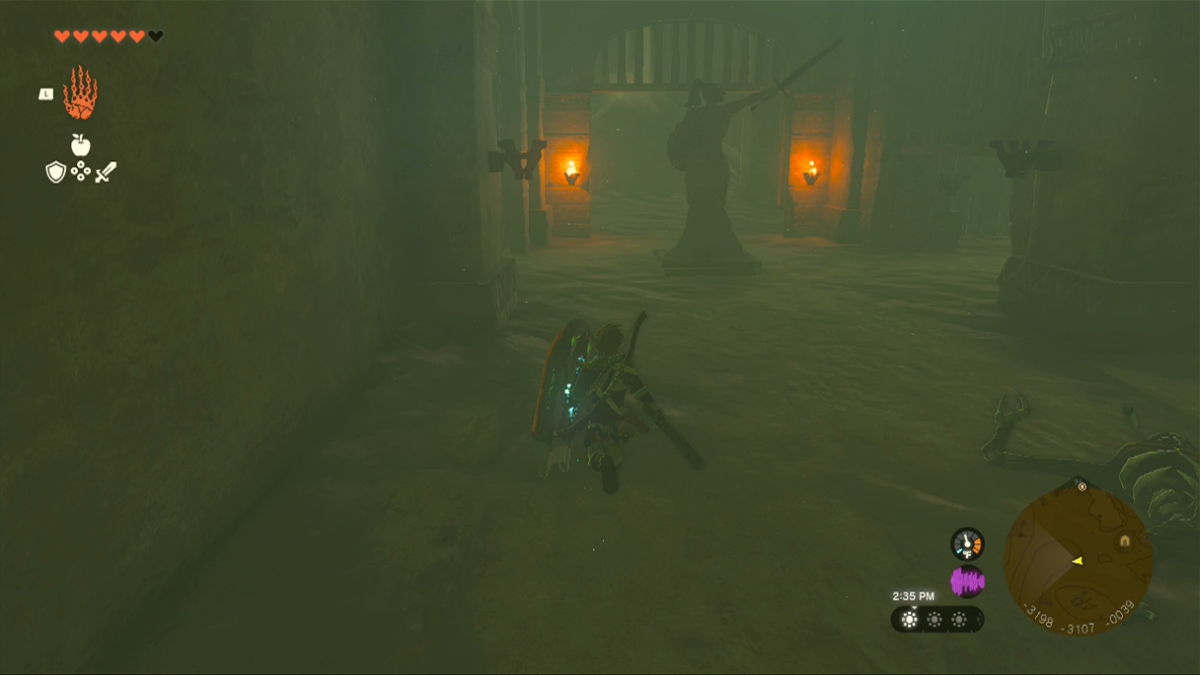
After sinking within the sand for a second, you’ll materialize in an underground chamber. A discover seems on-screen to tell you that you’ve got found the Historic Jail Ruins. Now it is advisable to navigate these ruins and the enemies and traps guarding them. Thankfully, it’s cooler underground and also you not want to fret concerning the warmth sapping your life for those who didn’t have the suitable gear or objects.
Screenshot by PC Invasion
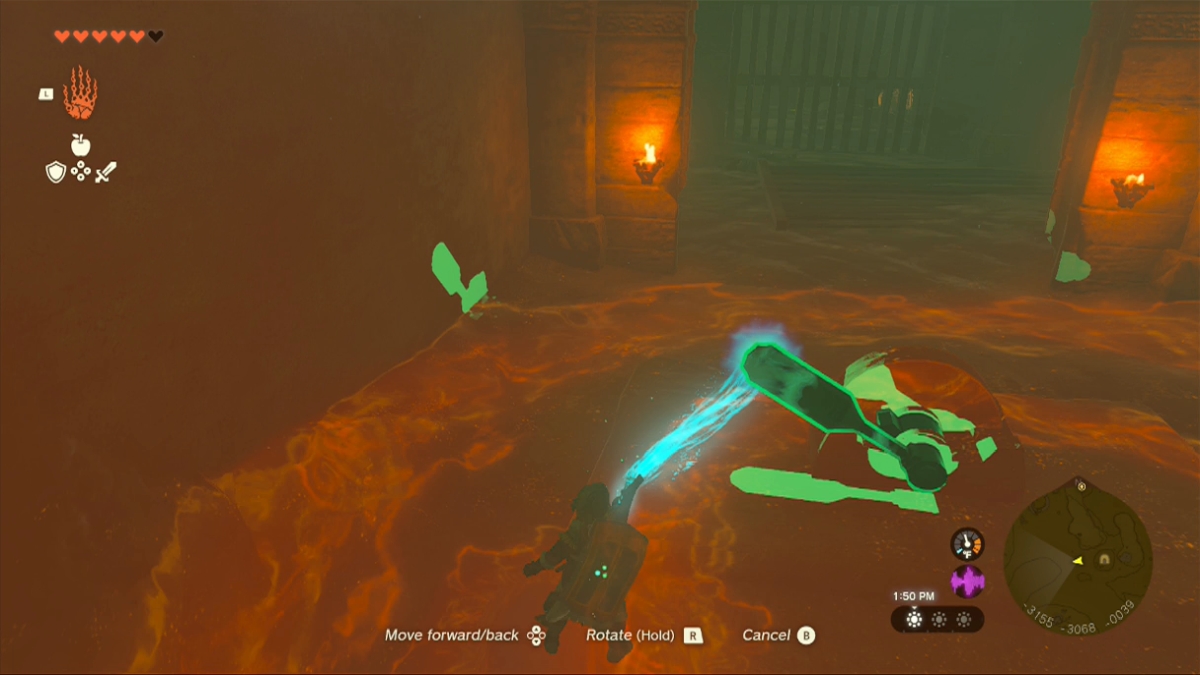
From the place you first seem within the ruins, journey west alongside the hall lined by mineral deposits. Forward, you’ll see a closed gate with torches on both facet. While you attain the gate, use your Ultrahand means to drag the change from left to proper. Doing so raises the gate simply past it. Move via the opening and head proper if it is advisable to replenish your provide of arrows. There are some strewn concerning the ground. To the left, comply with the hall previous some cells.
On this jail space, your enemies are the mummy-like Gibdos, which nonetheless creep me out as a result of I keep in mind them shrieking at me in The Legend of Zelda: Ocarina of Time. They’re weak to parts reminiscent of hearth, however largely shrug off bodily assaults. Thankfully, they transfer slowly sufficient that you need to be capable of run previous them and keep out of their vary. Simply give them a large berth and don’t stick round to allow them to mobilize.
Screenshot by PC Invasion
Close to the tip of the primary hall, you need to encounter a statue with an upraised sword. The blade is pointing to the suitable, which is the course you need to journey subsequent.
Comply with that hall to the subsequent lever and pull it. Then look to the suitable, the place a gap has now opened. Descend the slabs of stone to a decrease chamber. On the backside, crouch and go beneath the low opening. From there, veer proper. You’ll go via just a few enemies right here, together with a lightning-infused jelly, earlier than reaching some extra stone slabs you possibly can climb to return to the higher degree.
Screenshot by PC Invasion
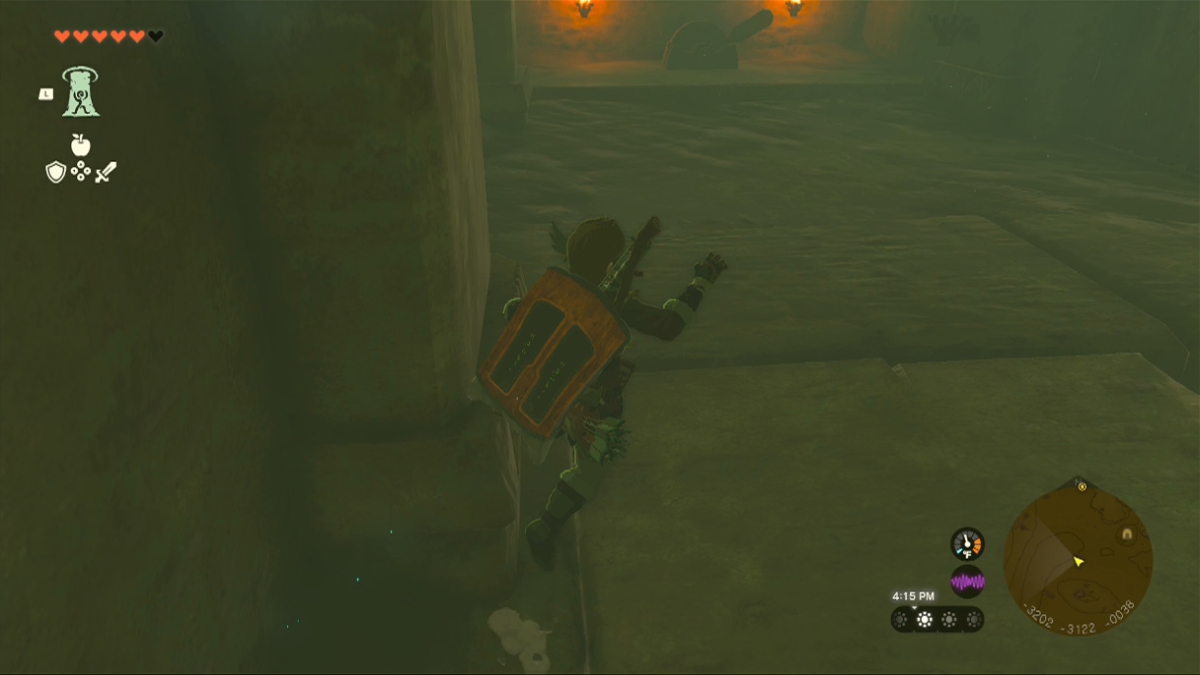
Now that you just’re again on the primary ground, begin ahead however take note of the ground. There are two giant stone tiles forward of a change on the far finish of the hall. While you put weight on them, they sink. Stick largely to the left and contact the weak elements of the ground solely briefly in your option to the change. Then pull it.
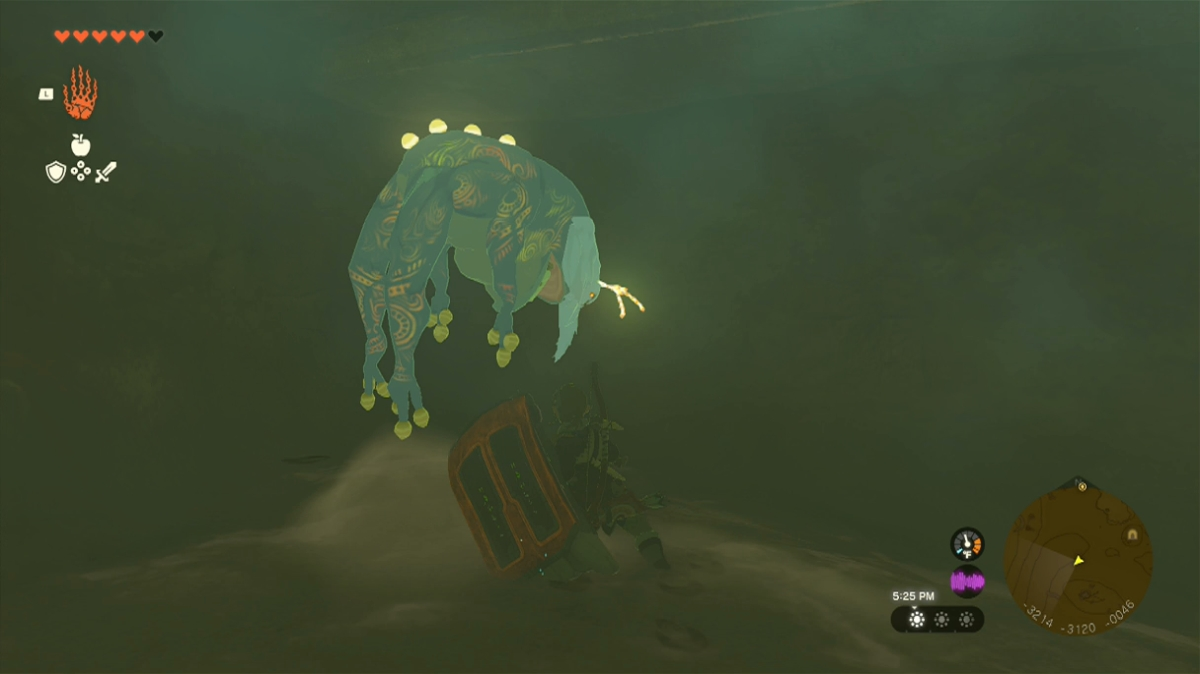
While you pull the change, you possibly can go into the subsequent hall to seek out the statue of the warrior with the sword once more. Cross that hallway and proceed to the change once more. Pull it, then veer to the suitable and drop again to the decrease degree. Proceed via that house to return to the room that had the week ground tiles. This time, journey them all the way down to the decrease degree and defeat the glowing cave frog for a Bubbul Gem.
Screenshot by PC Invasion
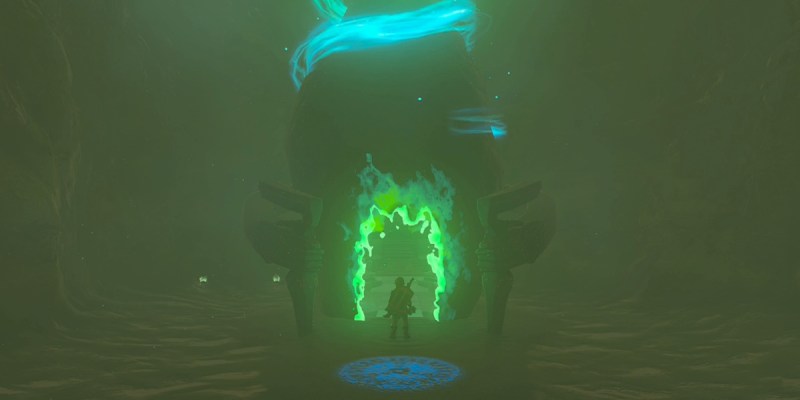
After defeating the frog, head alongside the underground hall towards a gate close to the tip. By it, you need to see the shrine. There’s additionally a niche within the stone slabs that comprise the ceiling. Rise via a type of slabs utilizing the Come up means. You’ll seem in a room with a treasure chest that accommodates the Gerudo Scimtar.
Take your treasure and look to the facet. There are tiles alongside the ground, simply behind the chest. Use the Ultrahand means to elevate them and reveal one other change. Put the Ultrahand means to make use of once more to drag the change. This produces a gap you possibly can go via. Glide all the way down to the decrease space forward of you to lastly attain Chichim Shrine.
The excellent news: contained in the shrine, you’ll obtain your traditional reward (together with a Mighty Zonaite Spear) nearly immediately.
The Legend of Zelda: Tears of the Kingdom is now obtainable for Nintendo Swap.
